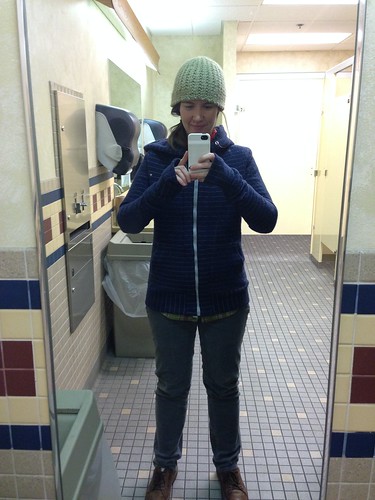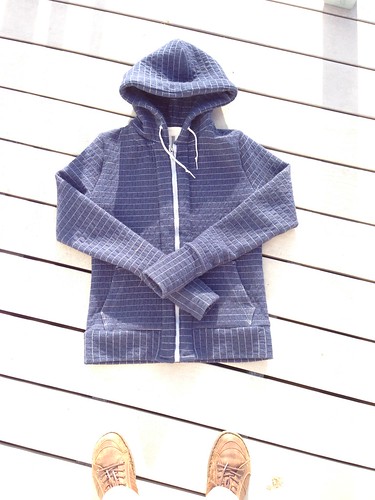
I love this hoodie. So much. All of it. Even the parts that are a little wonky. Because I made it and ... most importantly ... wear it all the time.
It's the Sol Hoodie from Jamie Christina.
The fabric is a recycled, washable wool I got in Oregon at Rose City Textiles.
That store blew my mind. They have THISMUCH fabric. Seriously.
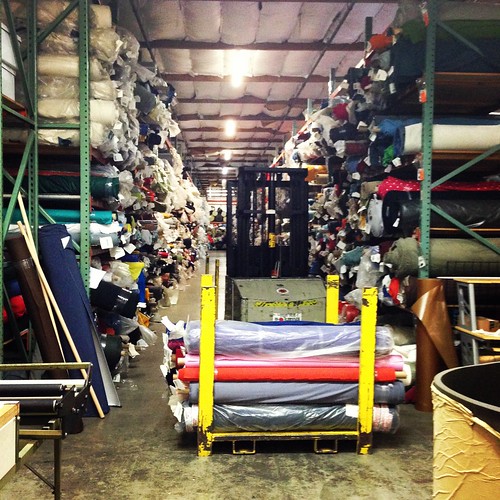
And it's all outdoors/performance fabric.
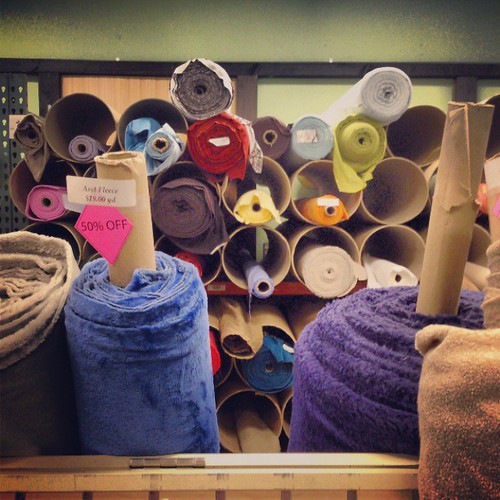
I think the wool was about $45.
I washed it on warm and dried it on low and it came out perfect. Then I got sewing.
The pattern was pretty easy to follow. The diagrams are super helpful and the writing is clear. The only thing I would have appreciated is a note about which sleeve is the left and which is the right. I didn't know that the sleeve backs typically have two notches and that's how you can tell. Google helped me through that one ... but not after I sewed the sleeve in wrong first. :)
The really awesome part about the pattern is the section about how to sew knits. There's a page with tips and techniques about which stitches work best for those of us who don't have sergers.
I experimented on my fabric with all the options and ended up using a twin sewing needle. The zig-zag on the back gave my stitches the perfect amount of stretch. I'd never even heard of that method before, but it worked SO WELL.
The construction is pretty straight-forward. First you essentially make a vest:
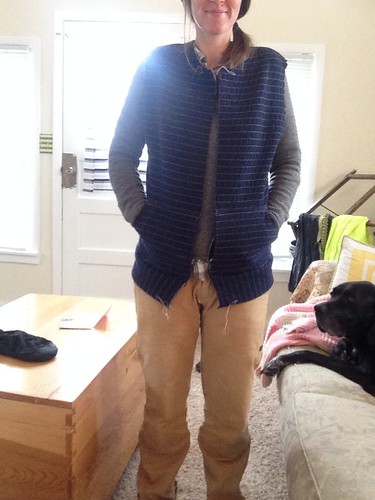
Then add sleeves and a hood! I don't have a full-length mirror at home, so sorry about the work bathroom pics.
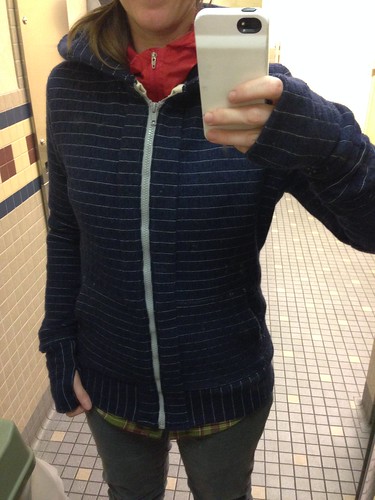
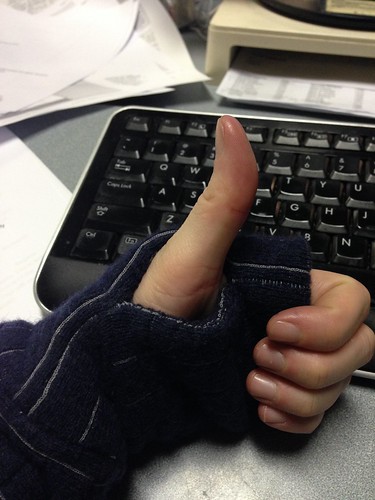
THUMBHOLES!!!!!!!
Anyway, I'd totally make this pattern again, and probably will soon. I'd like to alter the hood/neckline a bit so instead of ending at the collarbone it would zip up all the way to my chin. Most of my hoodies from Patagonia or whatever are like that, and I like to have the option to hide like a turtle if needed. :)
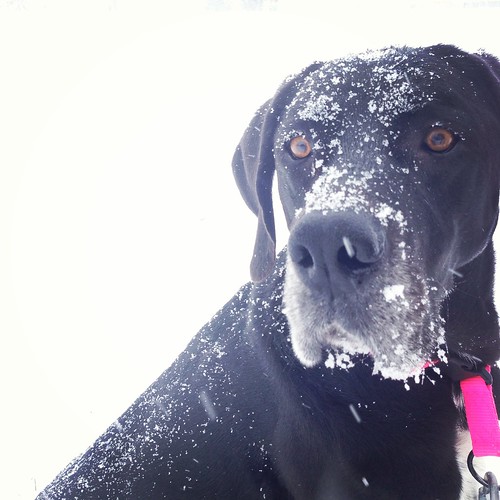
Also, these guys:
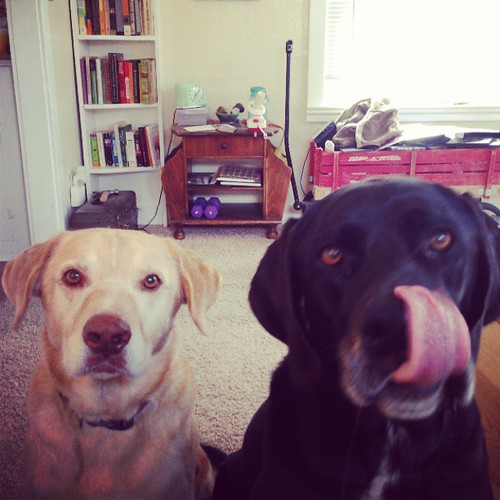
SNOW!
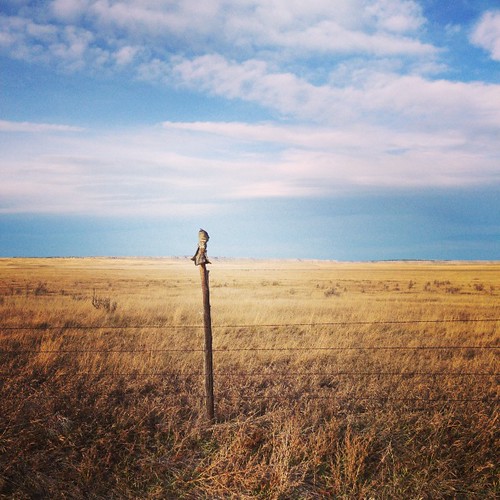
And before the snow:
Monday, December 23, 2013
Thursday, December 19, 2013
Outfitting little dudes for a weddding
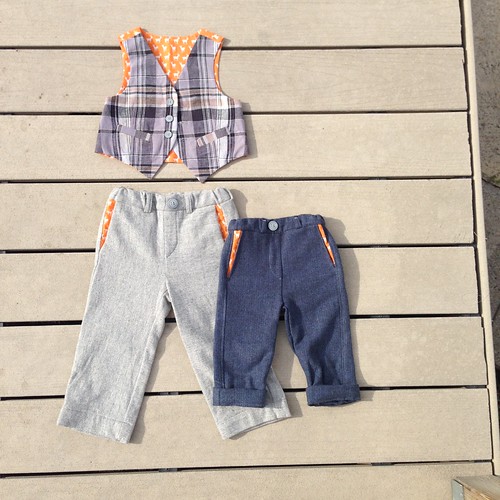
Oh man, these outfits.
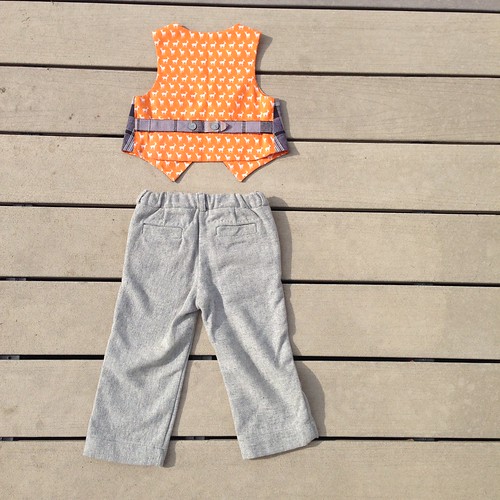
Oliver+S Art Museum pants and vest.
So cute. The pattern is great, like all Oliver+S ones. Well-written instructions and helpful diagrams.
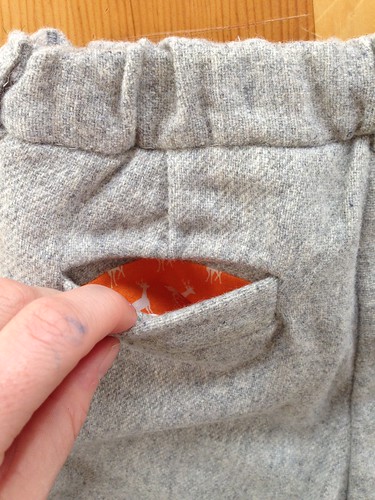
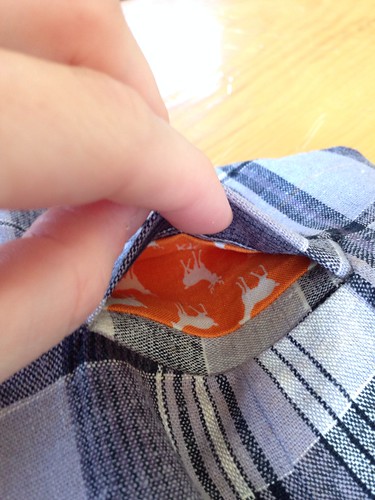
There are welt pockets on both the pants and vest.
The wool and orange deer are from a local shop, Four Winds Quilting. The rest is JoAnn's finest.
Wednesday, December 11, 2013
Recent-ish projects!
A few things I've finished ... haven't been that great about taking photos of stuffs.
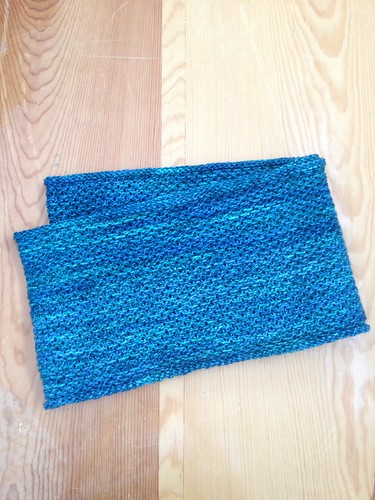
A cowl for someone for Christmas!
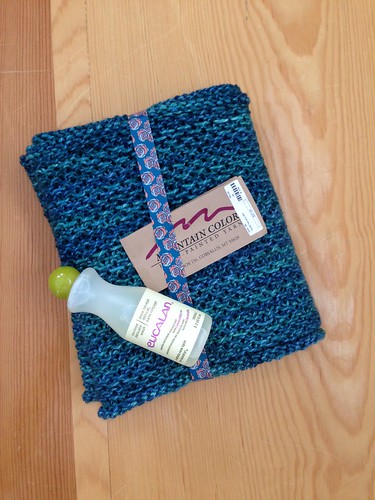
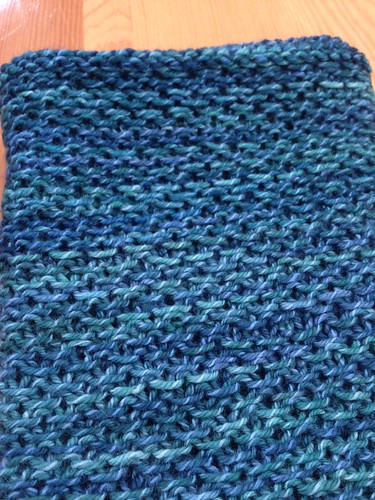
It's the Honey Cowl from Madelinetosh in Mountain Colors yarn. Whole thing took about a week to knit, working at night, etc. It's a fun, mindless pattern and turns out soooo squishy and soft.
Just as a heads up to anyone who uses this yarn: It's totally great ... but ...
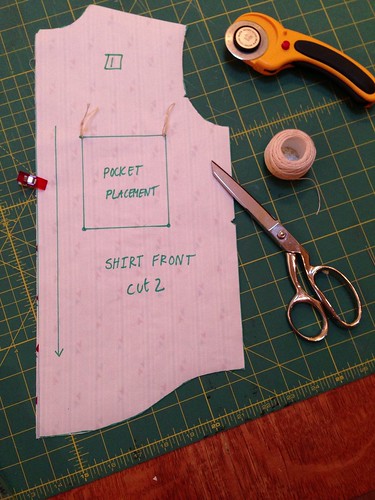
I almost had a panic attack when I washed the finished cowl. I got done knitting at the *ahem* bar after work, and then took it home to block it. I soaked it in Eucalan wash. I LOVE washing finished knits in this. They turn out incredibly soft, and I've never had any issues. I also like that you don't need to rise, because that means less stress on the fibers.
Anyway, I soaked the cowl for about 30 minutes, and the water in my sink was dark green. PANIC No. 1.
Then I laid it out on the table to block. And the yarn felt just awful. It's a DK weight, which I use a lot, so I'm familiar with how it acts after being soaked. But this was a nightmare. Stringy. No body. Hard to lay straight. Panic No. 2.
I love how soaking and blocking normally eases any awkward stitches in my work. But this looked like a trainwreck.
So I poured a bit of whiskey, took a drink, did some swearing and just trusted that it'd all be #@%*ing better in the morning.
But it wasn't. It still looked awful. And it wasn't even close to dry. (Panic No. 3) I needed to mail it by 2 p.m., so I committed a major knitting sin and pulled out the blow dryer. I started with no heat, then worked up to the low heat setting.
MAGIC!
Once it got close to dry, it looked AMAZING. Totally awesome. Soft and squishy with even stitches! Sooo good. Exactly what I wanted.
So if you ever use Mountain Colors Twizzle yarn, don't panic right after you block it. It'll work out in the end.
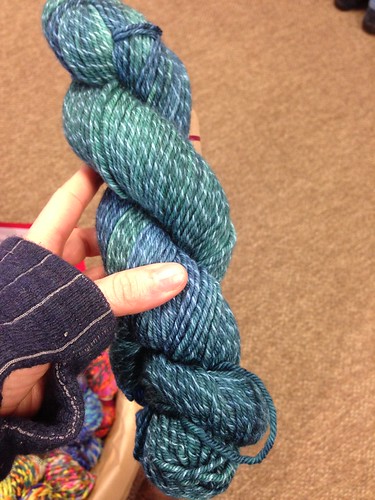
Here's the yarn on the skein:
:::
Other recent knits:
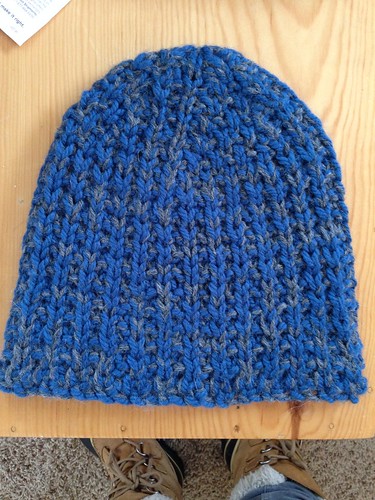
Man hat:
It's a broken rib pattern, cast on in multiples of 8. Pattern here.
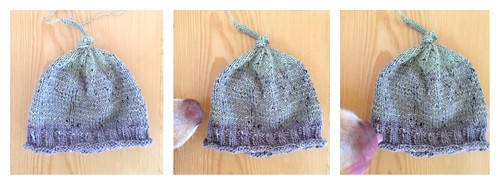
A baby hat that was too big, so now it's mine.
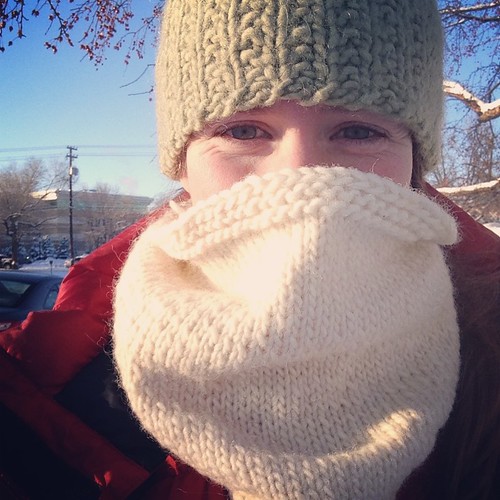
Bandana cowl (for when it was minus 35 and I WALKED TO WORK):
Pattern from The Purl Bee.
[HORRIBLE PHOTO ALERT] This hat and my super-sexy mop:
No pattern, just modeled off my favorite hat.
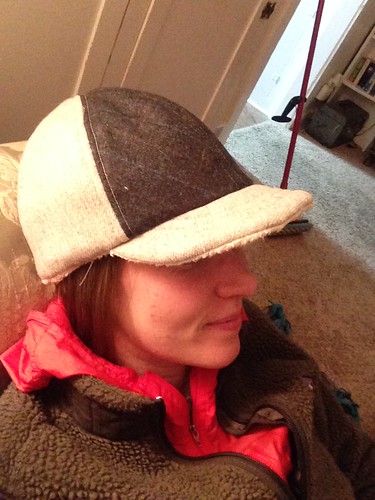
This is WARM. The outside is wool (the grey is new, the blue is thrifted), then there's a layer of quilt batting, and then inside is Michael Miller Organic Sherpa. The most amazing stuff.
:::
Just a ton of baby pants:
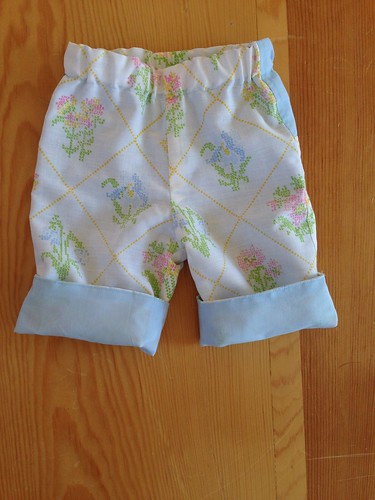
With old sheets:
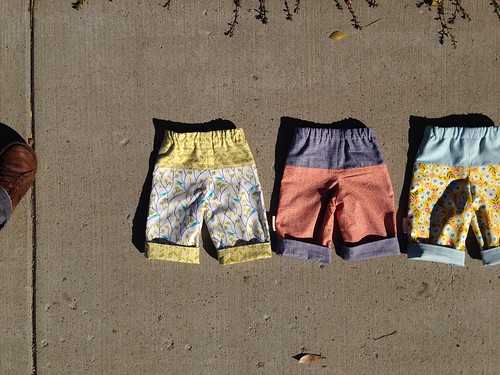
A bunch that got auctioned off:
All Quick-Change Trousers, which are reversible, from Anna Maria Horner's Handmade Beginnings.
:::
Hoodie for a baby, or Chowder:
From Oliver+S Little Things to Sew.
Wednesday, December 4, 2013
Friday, September 27, 2013
Better late than never (Super Tote!)
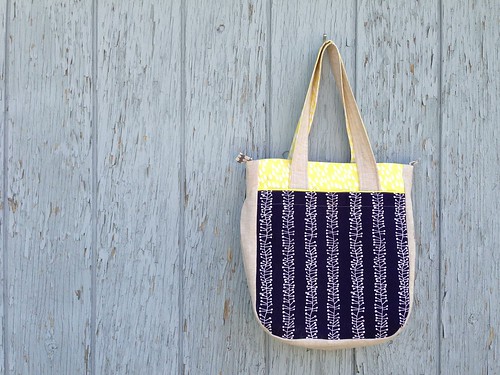
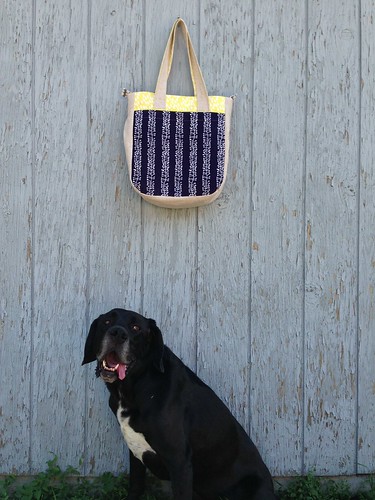
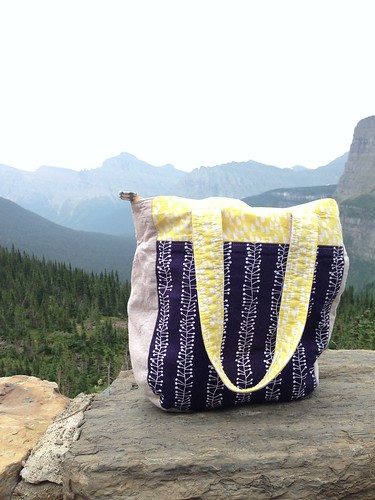
I made the Super Tote by Noodlehead! About two months ago, but whatever.
The fabric is Stof from Denmark, bought at my local Bernina store. The solid is an Essex linen, probably natural? I can't remember.
This is the first bag I've sewn for myself, and I'm so glad I waited for this pattern.
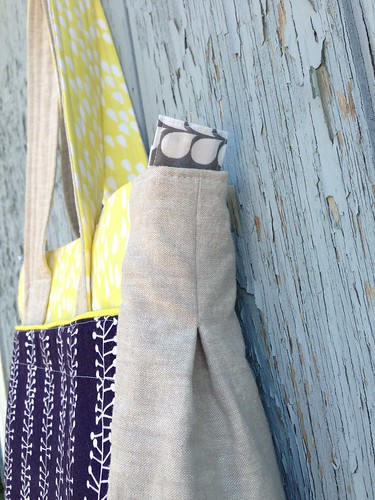
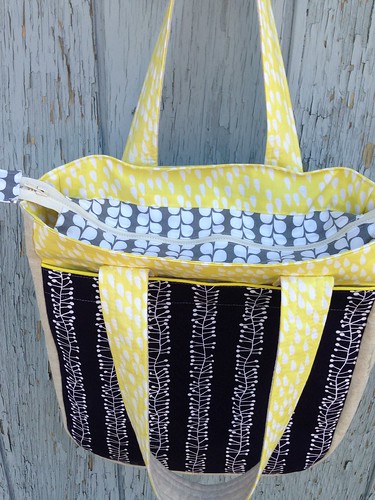
I sometimes get frustrated by non-pratical items (tiny in size, no zippers, not washable), but this bag is perfect. It can carry an assload of stuff (my brother calls it "The Mary Poppins Bag," but doesn't look huge. And I'm only 5'4, so it's easy for a bag to dominate me. The exterior pocket makes organization easy, and the inner elastic pockets are perfect for fitting things like flip-flops, etc.
It also has interfacing, which makes the finished bag have such nice structure. The pattern was easy to understand, and I didn't have any "WTF is going on here?" moments during construction.
This little outtake. Choooowder. <3
The only things I changed were: I fully lined the inner elastic pocket and exterior pocket instead of just facing it. And I added a zipper pocket inside. I have a weird thing for zipper pockets ... I need to keep all my shit secure in something zipped, or else I'm constantly panicked.
And that pocket held all my critical cash on an amazing trip I took with my little brother to Glacier.
At this point, the bag had been soaked, shoved and crammed, so it's a bit wrinkled. But still awesome.
:::
It was exactly the kind of trip you want to have with your brother when he's 27 and you're 29. You have enough cash to crash at a hotel room if you get fall behind on your already-loose schedule, but you're young enough to camp at the hilarious KOA instead.
You're grown up enough to try to actually sleep at night, but young enough to know sometimes it's way better to stay up at watch Skyfall on your iPhone until 6 a.m.
Here's some photos for now. I'll write a proper post on it later.
Wednesday, August 28, 2013
More baby sewing
About 90 percent of my sewing for the under-5 crowd is for just one little guy.
I have a special sewing relationship with this dude. I think it's because the first thing I ever really sewed was the baby quilt I made for him.
And since his family added a new baby brother last spring, I've been neglectful in sewing for said new brother.
So here's my attempt at evening things up. This is the 6-9 months size, which should be just perfect come fall.
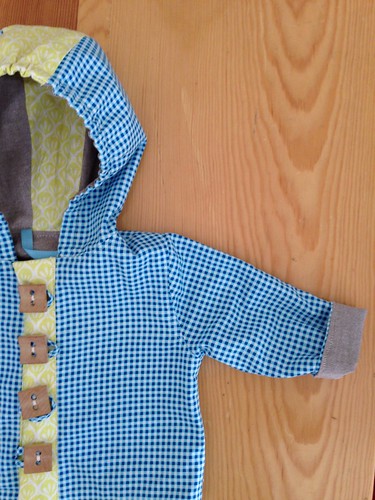
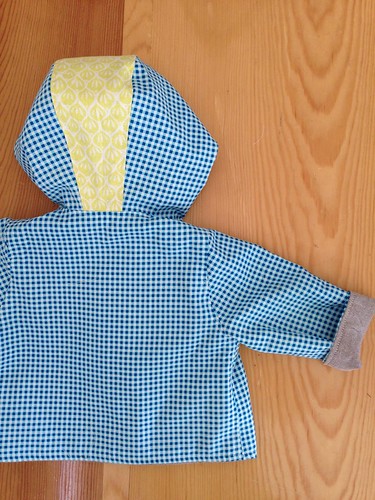
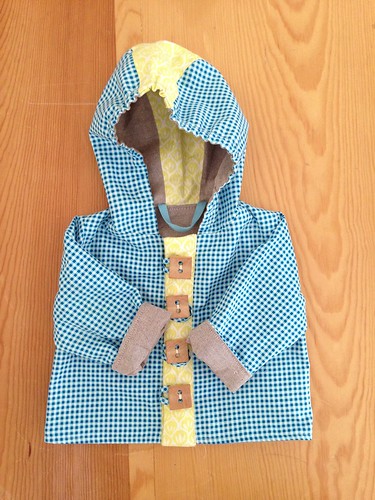
It's the Anna Maria Horner Baby in the Hood Jacket from Handmade Beginnings.
My mom sent me the blue fabric months ago, and the rest is from quilt scraps. The buttons came from my aunt's stash.
The pattern was easy to follow and had a few nice details, like an elastic hood and top stitching.
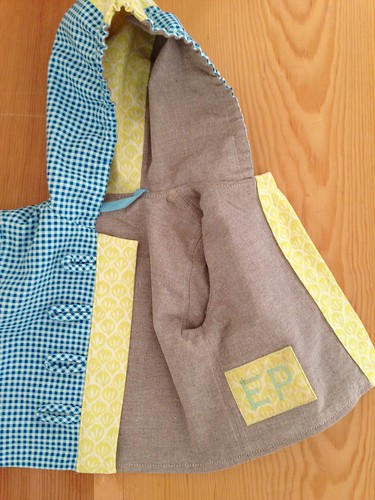
I added a little label with the kiddo's initials and a bit of twill tape for hanging purposes.
I think -- from start to finish -- the whole thing took just a few hours. Love it.
:::
This project also took a few hours. With equally successful results, I'd say.
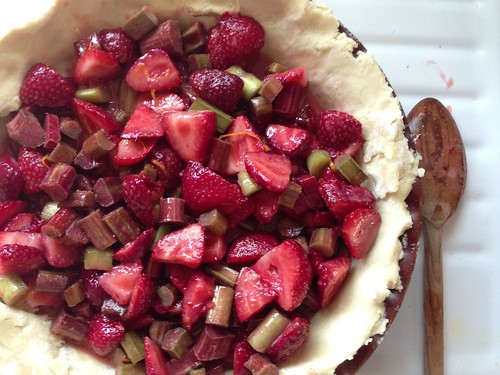
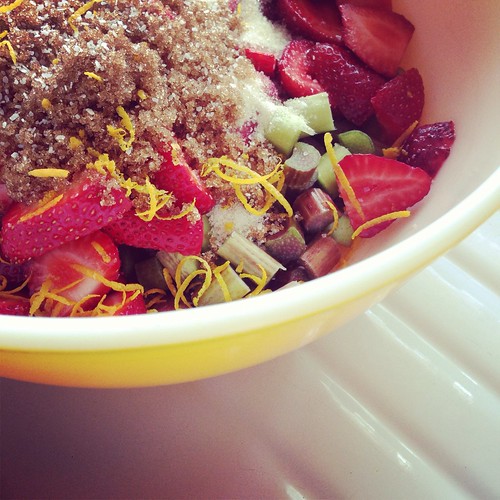
Strawberry-rhubarb pie. Killer.
I make some variation of this recipe almost every time for the filling.
-- 2 boxes of strawberries, cut in half (I never measure ... it's just two of the little fruit boxes they come in)
-- 2 bunches of rhubarb, cut into 1/2-inch pieces
-- about 1 cup brown sugar
-- about a half cup white sugar
-- 2 pinches kosher salt
-- thickener of your choice (I used 2 tablespoons tapioca flour this time and really liked the results)
-- juice of 1 orange
-- zest from one orange (you zest and then chop the zest into tiny bits if you're concerned about texture)
-- 2 tablespoons vanilla extract
-- spices (sometimes I add a bit of ginger, cinnamon, cardamom, nutmeg, etc. It's different every time)
Adjust the sugar to your preferred sweetness level and dot the filling with about 2 tablespoons of diced butter once you pour it into the crust.
This pie had an all-butter crust. I think all-butter is the way to go. For sure it takes more time, but it pays off. Here are a few tips that make a big difference.
-- Keep your butter cold. Like REALLY cold. Like after you chop it into cubes, stick it back in the freezer for 15 minutes to get it cold again.
-- Use a pastry blender. It's not that much extra work, and really it's less work if you're like me and don't own a dishwasher to clean the 1,864 parts that are needed to make the average food processor run.
-- After you get things to dough state (and DON'T OVER-MIX!), gently push the dough into two balls (if you're making a top and bottom crust) and wrap it in plastic wrap. Flatten by pressing down as much as you can. It'll make rolling out easier after the dough chills.
Well ... that's all I got.
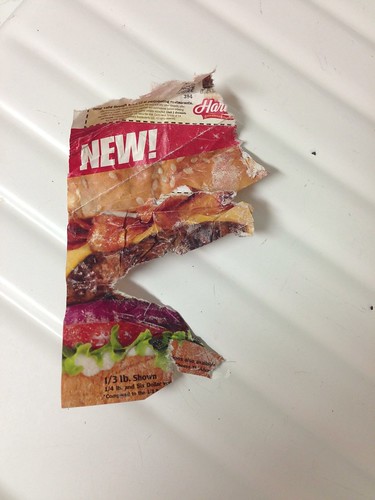
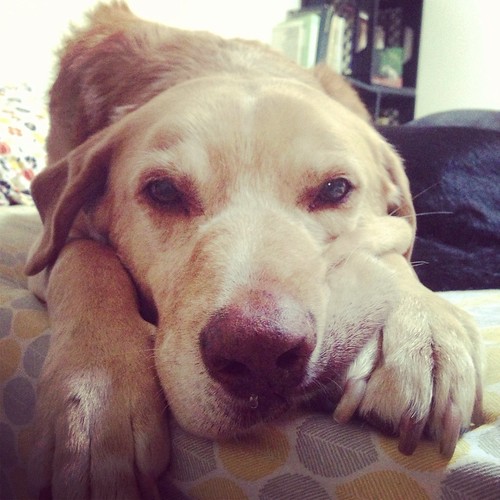
And this. This is awesome. I don't eat meat. A few weeks ago the dogs got into a pile of mail and chewed one thing in particular.
I love it.
More sewing projects coming up ... now that I have time to sew!
Thursday, July 11, 2013
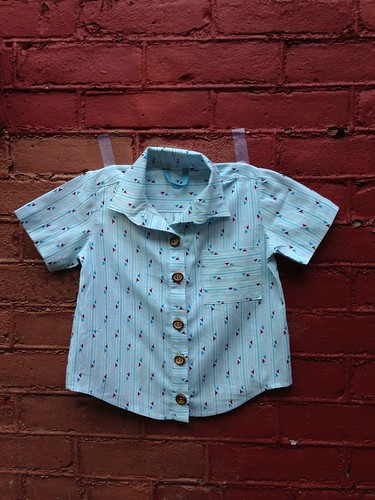
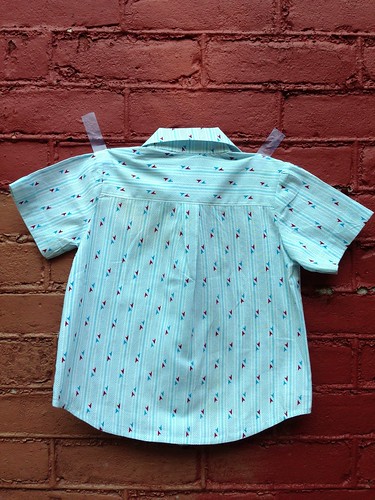
Shirt! Shirt! Shirt! Shirt!
!!!!!!!!!!!!
I made that. Or, more accurately, #@$%& YEAH, I MADE THAT.
That's how I feel about sewing clothes.
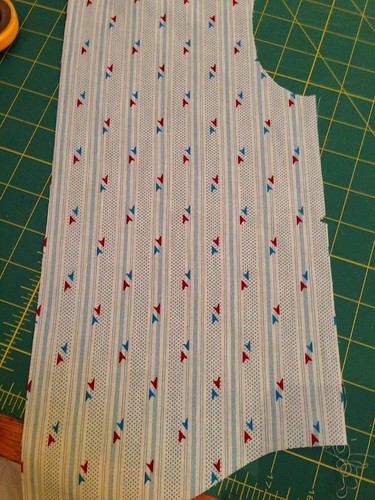
There's the time when it looks like this:
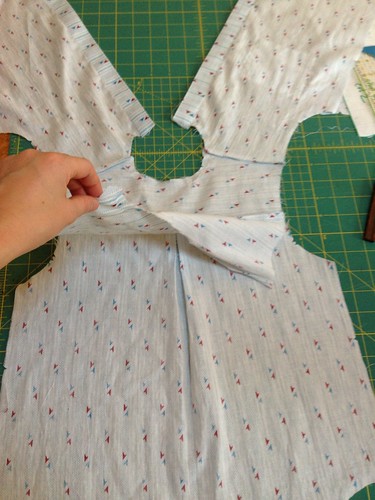
And then this ... which is like sort of almost a thing that might be a shirt or pants or maybe a sleeve?
And then this happens:
The damn yoke. It took me way to long to figure it out. And once I did, I said out loud: "No s#*t." Because I felt that stupid. It's the most obvious, yet totally confusing, thing. Maybe ever.
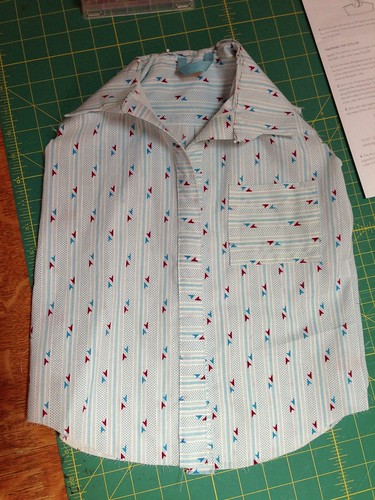
But after you survive the yoke, and the night of drinking it causes, you end up with a little redneck baby sleeveless shirt.
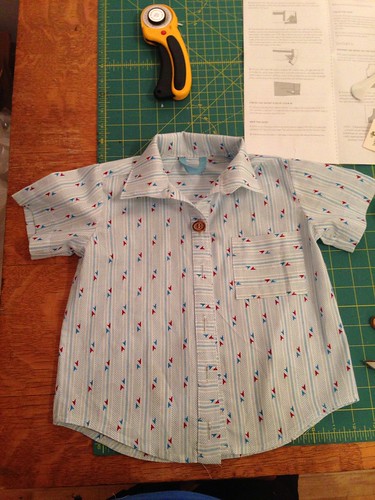
You could just stop there ... but then you add the sleeves, which is the same as adding sophistication. And class.
BAM! It's a recognizable piece of clothing that a real human would wear.
It's at this point that I get all giddy and say to the dogs while jumping up and down "Look! It's a shirt! A shirt! With sleeves that look like sleeves and a collar that does what collars do!"
To which they reply:
(this is "meh" in dog)
But anyway, here it is in action! On July 4, which is what I made it for (four). Ha.
This is an Oliver and S Sketchbook shirt. I love these patterns. So far I've made their School Days Jacket and a few of these.
:::
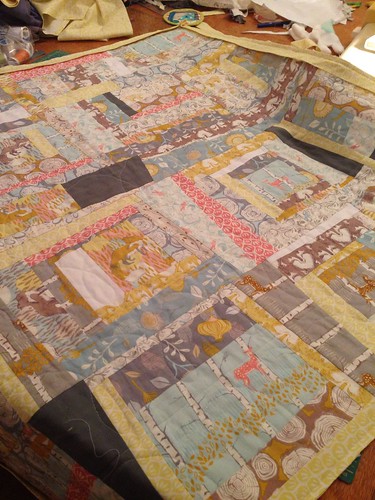
I also finished this quilt.
I don't have any photos of the finished quilt ... yet. But it's done. I swear.
:::
My neighbor kids have have a new game. It's called "Cover Tom In Dirt."
:::
Where I live, for two more days, is pretty.
Subscribe to:
Posts (Atom)